New York Style Cheesecake

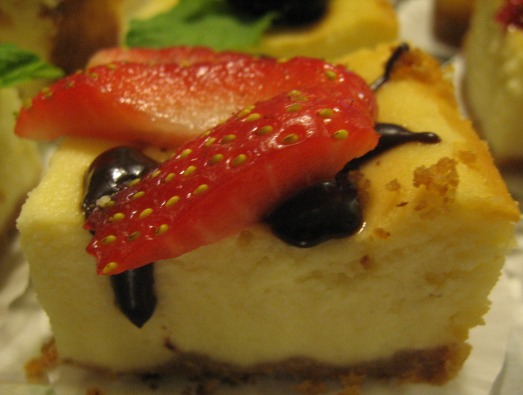
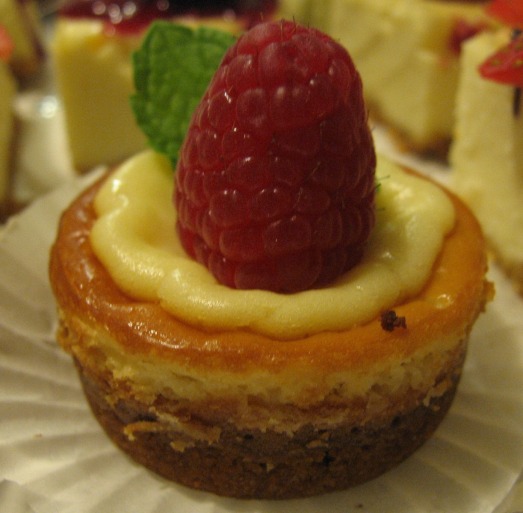
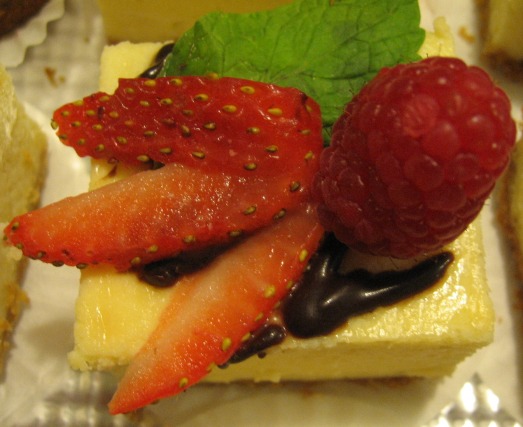
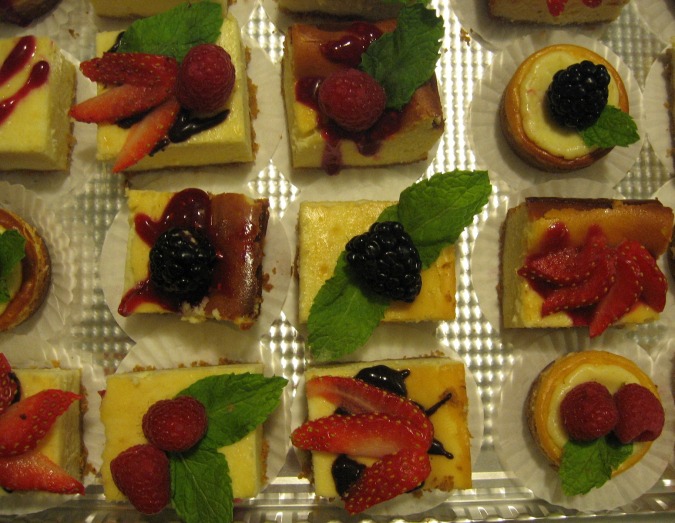
My mother-in-law recently hosted her grade school reunion party and she asked if I can prepare a dessert for the event. She said there would be at least 30 guests who will attend. So I immediately thought of making cheesecake because it’s easy, does not need a lot of preparation, and it always satisfies the palate. And who doesn’t want cheesecake for dessert?? So I was excited to do it! I settled on New York Style Cheesecake because it is not too sweet, and it is, for me, still the best cheesecake variety. What’s even more fun with the New York Style Cheesecake is, for the minimalist, you can eat it just the way it is. Or you can put fresh fruits for garnish, or add a little bit of chocolate or berry sauce (just like what I did). Mmmm… yummy!!!


New York Style Cheesecake

adapted from Good Housekeeping

Graham Cracker-Crumb Crust

  •  1 1/4 cups graham cracker crumbs (either from 11 rectangular graham crackers, or you can buy a box of cracker crumbs)
  • 4 tbsp butter or margarine, melted
  • 1 tbsp sugar


Cheesecake:


  • 3 packages (8 ounces each) cream cheese, at room temperature
  • 3/4 cups sugar
  • 1 tbsp all-purpose flour
  • 1 1/2 tsp vanilla extract
  • 3 large eggs
  • 1 large egg yolk
  • 1/4 cup milk
  •  Fresh berries, for garnish


  1. Preheat oven to 375 degrees F. Prepare Crumb Crust: In 8 1/2- to 9-inch springform pan, with fork, mix crumbs, melted butter, and sugar until crumbs are evenly moistened. With hand, press crumb mixture firmly onto bottom and up side of pan. Bake 10 minutes; cool crust in pan on wire rack. Turn oven control to 300 degrees F.
  2. Prepare Cheesecake: In large bowl, with mixer at medium speed, beat cream cheese and sugar until smooth and fluffy. Beat in flour and vanilla until well combined. Reduce speed to low and beat in eggs and egg yolk, one at a time, beating well after each addition. Beat in milk just until blended.
  3. Pour batter into prepared crust. Bake 55 to 60 minutes, until set but still slightly jiggly and moist in center, and pale gold near edge.
  4. Cool completely in pan on wire rack. Refrigerate for at least 4 hours to overnight before serving. To serve, remove side of pan. Place cake on plate; garnish with fresh fruits.

To make triple berry sauce:

  • 3 cups frozen berries
  • 3/4 cup sugar
  • 2 tbsp water
  • 1 1/2 tbsp cornstarch
  • 1 1/2 cup frozen or fresh berries
  1. Place 3 cups of berries and sugar in a saucepan over medium heat. Stir until the frozen berries are soft and sugar is melted (you don’t need to add water).
  2. Puree berry mixture with a blender; replace in saucepan.
  3. Mix together water and cornstarch and stir into berry mixture.
  4. Add 1/2 cup frozen or fresh berries and boil over medium heat until thick. Chill to serve


Watermelon Mojitos

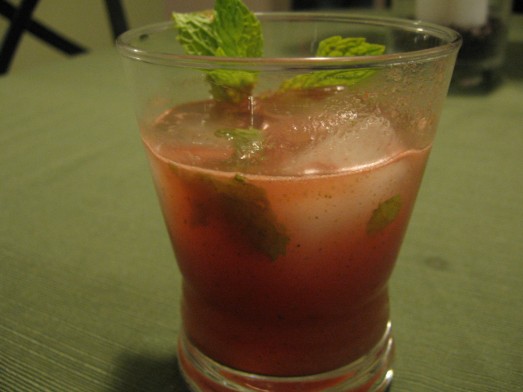
After a long, stressful and tiring week, nothing beats relaxing on a Friday night with your girlfriends. I decided to host a girls night at my place and we watched the movie Bridesmaids. This movie is so A-hilarious!  All of us could not stop from laughing. To make our Thank God It’s Friday even better, I decided to make us a very refreshing cocktail drink that can melt our week-long work-related frustrations. For the first time, I decided to make watermelon mojitos. When I told the ladies that I was going to make this drink, they all got so excited and happy. Who wouldn’t be?  Watermelon reminds us of fun-filled summer, and the mint leaves make the drink extra refreshing. I modified the recipe a bit though, I decided to freeze half of the watermelon then combined it with the fresh watermelon in the food processor. The combination resulted in a very cold, slushy, fresh puree and everybody loved it! All in all, it was a fun-filled night filled with laughter, friendship and love.

Watermelon Mojitos

modified from Barefoot Contessa How Easy Is That?

  • 30 large fresh mint leaves, coarsely torn by hand
  • 2 1/2 to 3 lbs fresh watermelon
  • 12 ounces light rum, such as Bacardi
  • 1/2 cup simple syrup
  • 6 tbsp freshly squeezed lime juice (3 limes)
  • Sprigs of mint and spears of watermelon, for serving
  1. To make a simple syrup, combine 1/2 cup of sugar and 1/2 cup of water, heat on a stove top to dissolve, and chill.
  2. Use a mortar and pestle to mash the mint leaves.
  3. Remove and discard the rind and seeds of the watermelon. Put the fruit into a food processor fitted with the steel blade and puree.
  4. Put the mashed mint into a large pitcher with 2 cups of pureed watermelon, the rum, simple syrup, and lime juice and stir to combine. Pour the mixture into a pitcher for serving.
  5. Place ice cubes in 6 glasses and pour the mojito mixture into the glasses. Garnish with sprigs of fresh mint and spears of watermelon. Serve ice-cold.

Lemon and Orange Marmalade

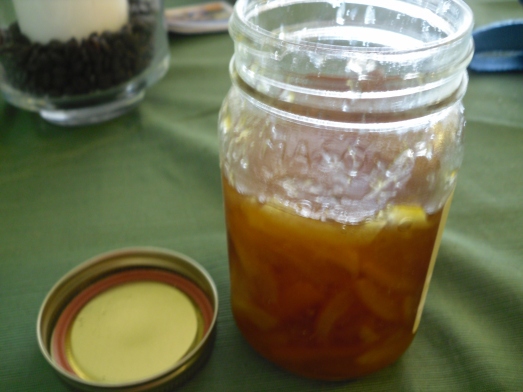
For some reason, I thought it would be nice if I learned how to make my own marmalade. I guess the driving force for that feeling started when we attended a local festival nearby and there were two or three booths with all kinds of marmalades – mango, orange, peach, plum, even jalapeno! So to humor myself, I decided to make my own. Ina Garten made marmalade on her show Barefoot Contessa, so I looked up the recipe and gave it a try. Boy, I never thought it would take two days to make it! It turned out good though. It is a nice addition to a food gift basket. In fact, this is what I did with all my homemade marmalade. I transferred them to a nice container and put each in a breakfast gift basket together with bread, coffee grounds and a pair of coffee mugs. It is kinda cute, because the gift basket has your personal touch. A note though, one must have kitchen gadget when making a marmalade is to own a candy thermometer because its consistency will depend on right the temperature of the syrup.

Lemon and Orange Marmalade

adapted from Barefoot Contessa at Home

  • 4 large seedless oranges
  • 2 lemons
  • 8 cups sugar
  1. Cut the oranges and lemons in half crosswise, then into very thin half-moon slices. (If you have a mandoline, this will be quite fast.) Discard any seeds.
  2. Place the sliced fruit and their juices into a stainless-steel pot. Add 8 cups water and bring the mixture to a boil , stirring often.
  3. Remove from the heat and stir in the sugar until it dissolves. Cover and allow to stand overnight at room temperature.
  4. The next day, bring the mixture back to a boil. Reduce the heat to low and simmer uncovered for about 2 hours.
  5. Turn the heat up to medium and boil gently, stirring often, for another 30 minutes. Skim off any foam that forms on the top.
  6. Cook the marmalade until it reaches 220 degrees Farenheit on a candy thermometer.
  7. If you want to be doubly sure it’s ready, place a small amount on a plate and refrigerate it until it’s cool but not cold. If it’s firm — neither runny nor too hard — it’s done. It will be a golden orange color. (If the marmalade is runny, continue cooking it and if it’s too hard, add more water.)
  8. Pour the marmalade into clean, hot Mason jars; wipe the rims thoroughly with a clean damp paper towel, and seal with the lids. Store in the pantry for up to a year.

Blueberry Pancakes

I excitedly told my boyfriend (and avid food critic) Ryan that I was going to post my blueberry pancakes on my blog… and his reply was: “well… but I’m sure most people already know how to make blueberry pancakes!” And my excitement goes pffftttt, like a deflated balloon…. But then again, when I remember the number of times I tried to make blueberry pancakes until I’m satisfied with the taste and the fluffiness, I am darn proud of myself for not giving up. Maybe about 90% of the population already know how to make pancakes, but to a cooking novice like me, perfecting how to make a simple recipe like this is still one of the most exciting feeling. And this can pave way to other recipes like apple cinnamon pancakes, banana nut pancakes, peach and cherry pancakes, orange mango pancakes, so on and so forth…(okay I was just throwing out some fruit ideas there..) And just like seeing the glass half full and not half empty, although maybe 90% of the population know to make the blueberry pancakes, there’s still a remaining 10% that are clueless. So I decided to post this.

P.S. Ryan loved the blueberry pancakes that I made! Maybe I can challenge him to cook one for me, and I will decide whether he belongs to the 90% or the 10% category… hahaha…

Blueberry Pancakes

adapted and modified from Bon Appetit

  • 1 cup plus 2 tablespoons cake flour
  • 1 cup all purpose flour
  • 1/4 cup sugar
  • 1 tbsp baking powder
  • 1/2 teaspoon salt
  • 2 cups whole milk
  • 2 large eggs
  • 3 tablespoons unsalted butter, melted, plus additional melted butter
  • 1 tsp good olive oil
  • 2 1/2-pint baskets blueberries
  • Maple syrup
  1. Whisk cake flour, all purpose flour, sugar, baking powder and salt in large bowl. Whisk milk and eggs in medium bowl. Gradually whisk milk mixture into dry ingredients. Mix in 3 tablespoons melted butter.
  2. Heat griddle or a heavy large nonstick skillet over medium heat. Brush lightly with additional melted butter and olive oil.
  3. Working in batches, pour batter by 1/4 cupfuls onto griddle. Sprinkle each pancake with 1 heaping tablespoon blueberries.
  4. Cook until bottoms brown, about 1 1/2 minutes. Turn pancakes over and cook until second sides brown, about 1 minute. Divide pancakes among plates.
  5. Top with extra butter. Serve with syrup.